
i have seen cute fancy-sleeved tees in boutiques and online shops and when i spied the same sort of lace used on those frilly shirts at my local hobby lobby, i couldn't buy that lace and get home fast enough, itching to transform some plain ole used up tees into something really fun for my girls!
the project was so easy and the results so well-received by my kiddos (who are, by the way, attracted to anything even the least bit princess-y), that i wanted to pass along these simple instructions to you all!
what you will need:
 (i am using a new tee here but used ones are perfect too!) I love my rotary cutter and straight edge, but you will be fine without those--just use scissors and make as even a cut as possible!
this is a photo of the aisle at my hobby lobby where i found the 5" ruffled ribbon lace...
 they carry cream, white and black in this style. they also had some even fancier laces that would look precious for a dressier outfit.
  if you don't have a hobby lobby nearby, you can order it online and still use a 40% off coupon! i couldn't find this same lace at any other local stores, but you might have better luck than me!
alright, on to the tutorial!
~fold your tee in half, being careful to line up shoulder seams and sleeve seams
~lay your lace on top of the sleeves to get an idea for where you would like the hem of the lace to fall. i chose to make the top have more of a 3/4 sleeve, so i decided to position my cut about 7 inches in from the bottom of the sleeve.
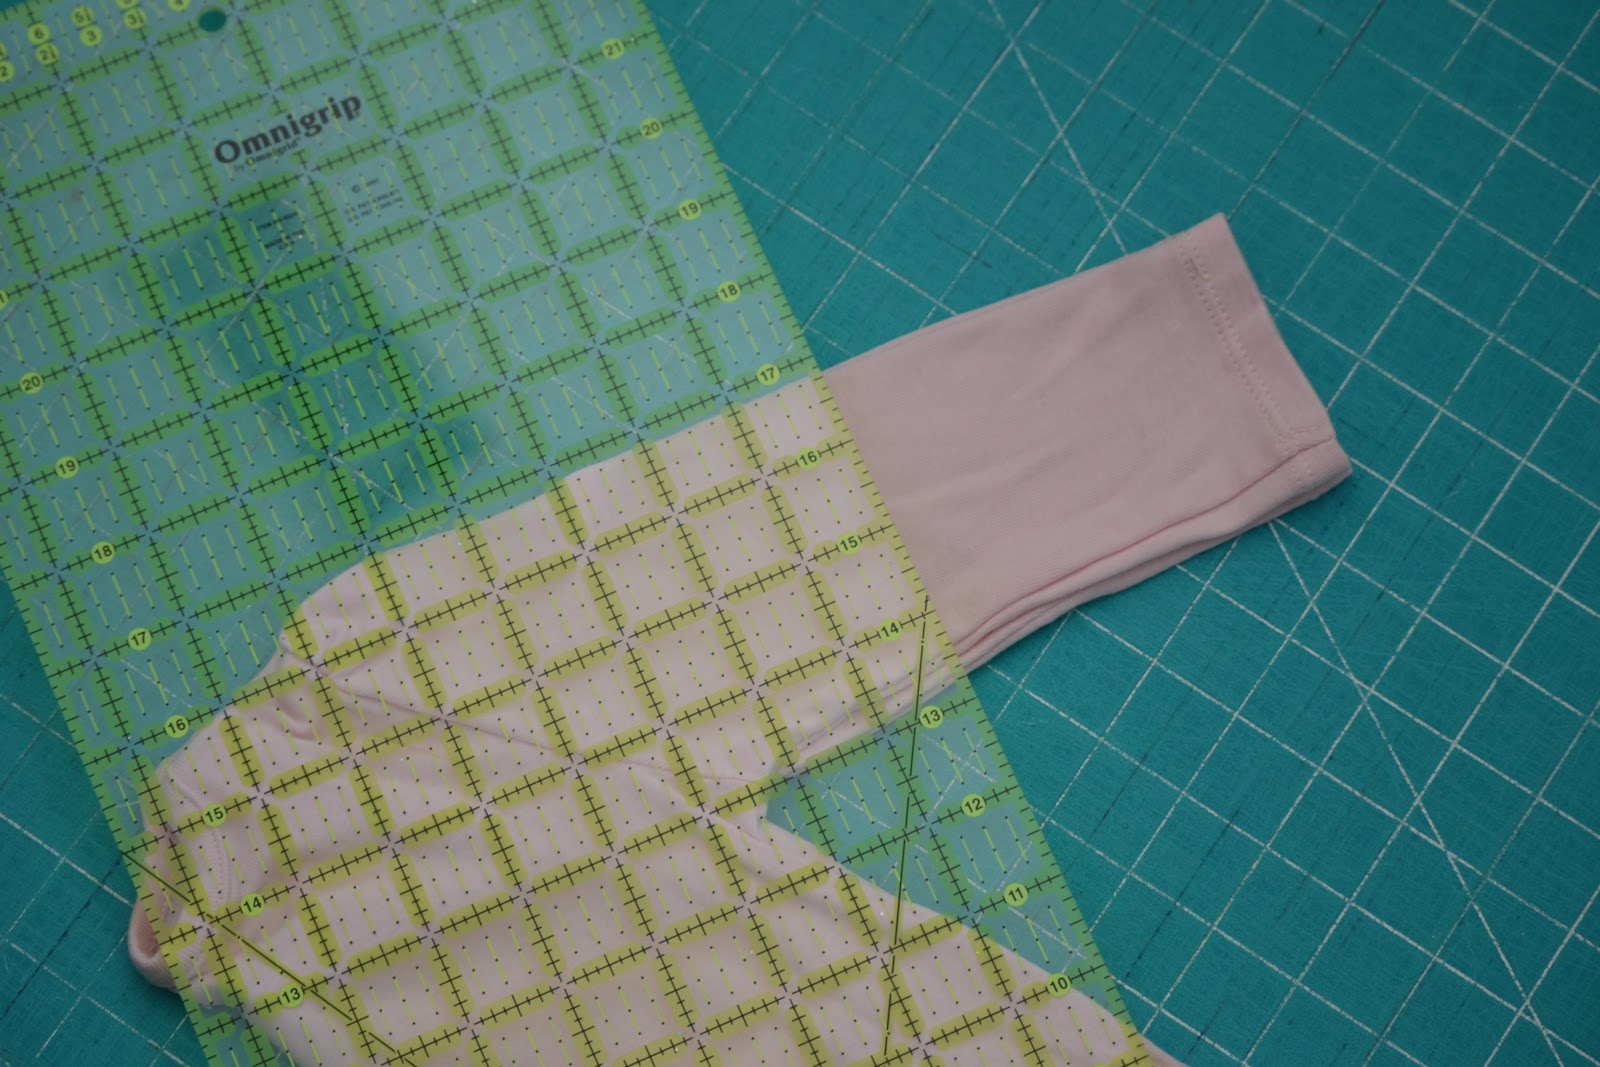

~now lay your lace once more on the sleeve, this time to get a feel for how much lace you will need for each sleeve. my sleeve was about 3.5 inches wide when folded, so i cut 8 inches of lace for each sleeve. be sure to cut at least .5 inch more lace than sleeve width to allow for the seam you will create on the lace.
~so here is what you have now!


~now pin your lace to your sleeve. match the seam of your lace with the seam on the sleeve so that both seams are on the underside of the arm. the ribbon band is the perfect guide--just line up the bottom edge of the ribbon with the edge of your sleeve. 


 now repeat with the second sleeve!
 and viola! your princess sleeve top is all ready for wear!
i turned my tee into a dress since i had already transformed all our tees...

it's guaranteed to be a hit at the ball or on the playground!!


Thank you!!! Stella has those same See Kai Run's...in a couple colors!! Love them!!
ReplyDeletegreat project. thanks for sharing on HDH!
ReplyDeleteSo very cute! I have not done this with lace, but now I think I might! Thanks for sharing.
ReplyDelete